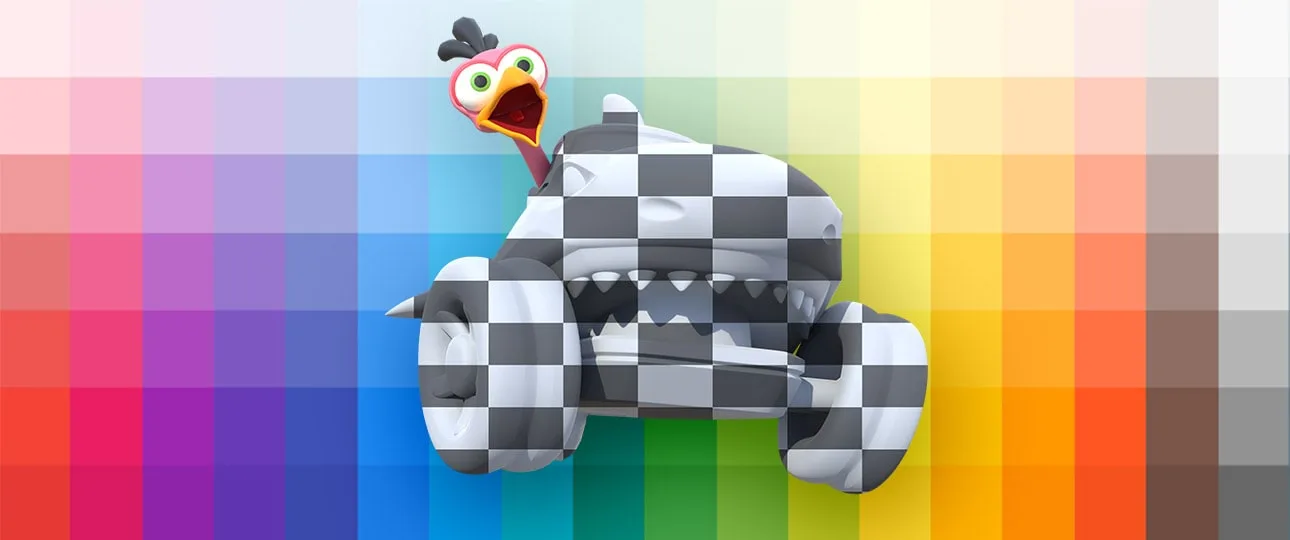
UV unwrapping is the process of transforming a 3D object’s surface into a flat image. This step is essential for properly applying textures to a 3D model. It’s important to consider UV unwrapping even during the model creation process. Although it’s more technical than creative, the ability to create quality unwraps is a crucial skill for a 3D modeler, and employers often look for this in portfolios. The better the unwrap, the higher quality the textures will look on the model after baking.
Why is UV unwrapping needed?
3D models are volumetric, while textures are flat. Without unwrapping, the program doesn’t know how to apply a flat texture to a volumetric object. This is why there’s a separate stage in the pipeline: UV unwrapping. It’s necessary to transfer the 3D form onto a flat surface so that the texture can be properly applied.
What does UV mean?
In 2D graphics, the X and Y axes are used. In 3D, the Z axis is added, allowing us to see three-dimensional objects and their meshes. But textures remain flat; their coordinates correspond not to points in space but to locations on the model’s faces. To avoid confusion between texture coordinates and 3D space coordinates, U (horizontal) and V (vertical) designations are used for textures.
A model can be unwrapped onto a flat surface either manually or automatically. All major 3D modeling software has tools for this. Now, let’s look at a simple way to do UV unwrapping.
Our method for quick and easy UV unwrapping

Instead of creating individual unwraps and textures for each model, we apply a universal, pre-prepared texture suitable for various 3D objects. The advantages of this method are:
Simplicity of implementation:
- No need to create unique unwraps.
- Quick application of texture to any model.
High optimization:
- Use of a single 1024×1024 pixel texture for the entire set of assets.
- Significant reduction in memory usage.
Convenience in work:
- Simplified texturing process.
- Ease of making changes and adjustments.
- Reduced time for preparing textures for new objects.

That universal texture
This method is particularly effective for projects requiring rapid development and resource optimization, such as mobile games or applications with limited system requirements. Here’s what you need to do, step by step:
Step 1.
Use any convenient tool to create a basic unwrap—literally any. The ithappy team often uses “Project from View” in Blender, which projects the model’s UV coordinates according to the current viewport view.


Step 2.
Scale the UV unwrap to a specific color, then select individual areas of the model and drag the UV shells to another color, gradually obtaining the necessary color palette for the model.

Step 3.
When you’re satisfied with the colors, add gradients. They enhance the model’s colors, making it more appealing. Again, use “Project from View,” scale the resulting projection by width, and place it in the right spot to achieve a beautiful gradient. You can use vertical gradients for a smooth transition within one color or horizontal gradients for variation from one color to another.

A small life hack: Use the 2D cursor as an assistant. After choosing a color, move the cursor to the corresponding area so that when you reapply “Project from View,” you can quickly position the UV shells in the right place on the texture.
If you still have questions, check out our video on how to change the color of a model using our UV texture:
Or watch two shorts on working with gradients:
Also, check out a short on creating more complex textures:
I hope this guide was helpful to you!
