

In this article we’ll build an optical scope and set it up in Unity. As the example we’ll use the scope from our Cartoon Weapons pack.
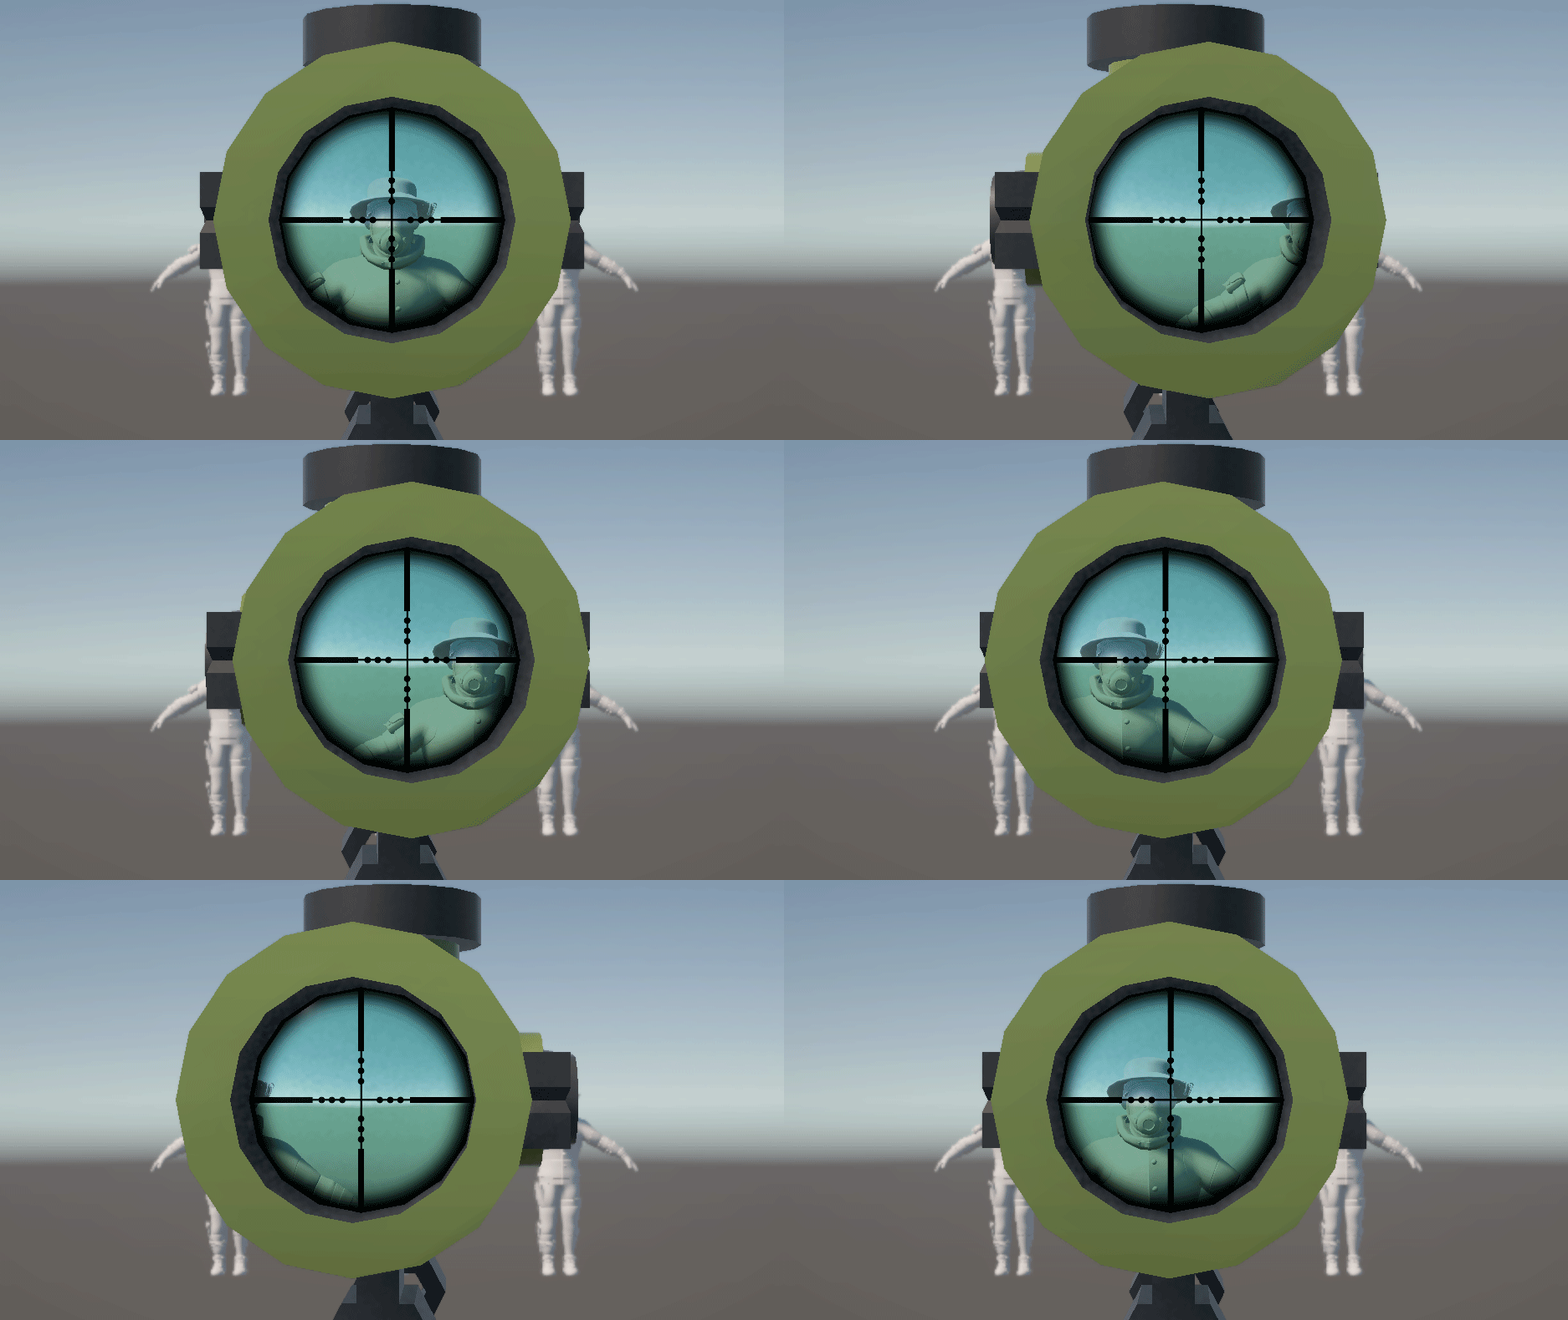
The idea is simple: the player should be able to look through the scope, not at a crosshair painted over the screen. Projects implement scope aiming in all sorts of ways, so we’ll prepare the model to work with as many of them as possible.
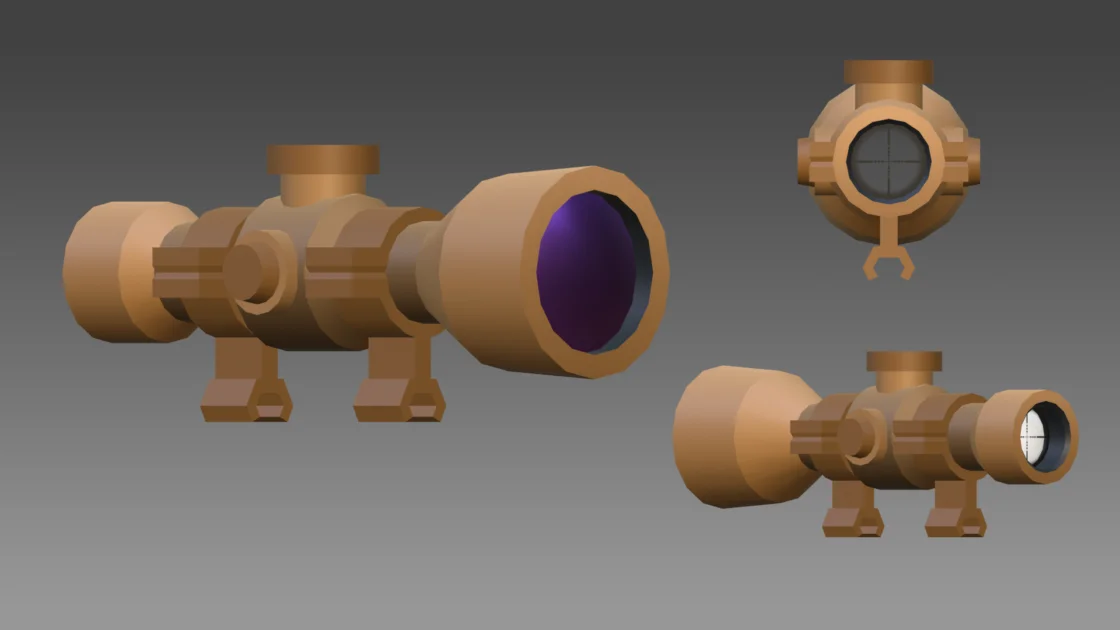
The basic setup
The scope model needs a hollow interior so the player can see through it. Beyond that, the bare minimum is one thing: a reticle texture.
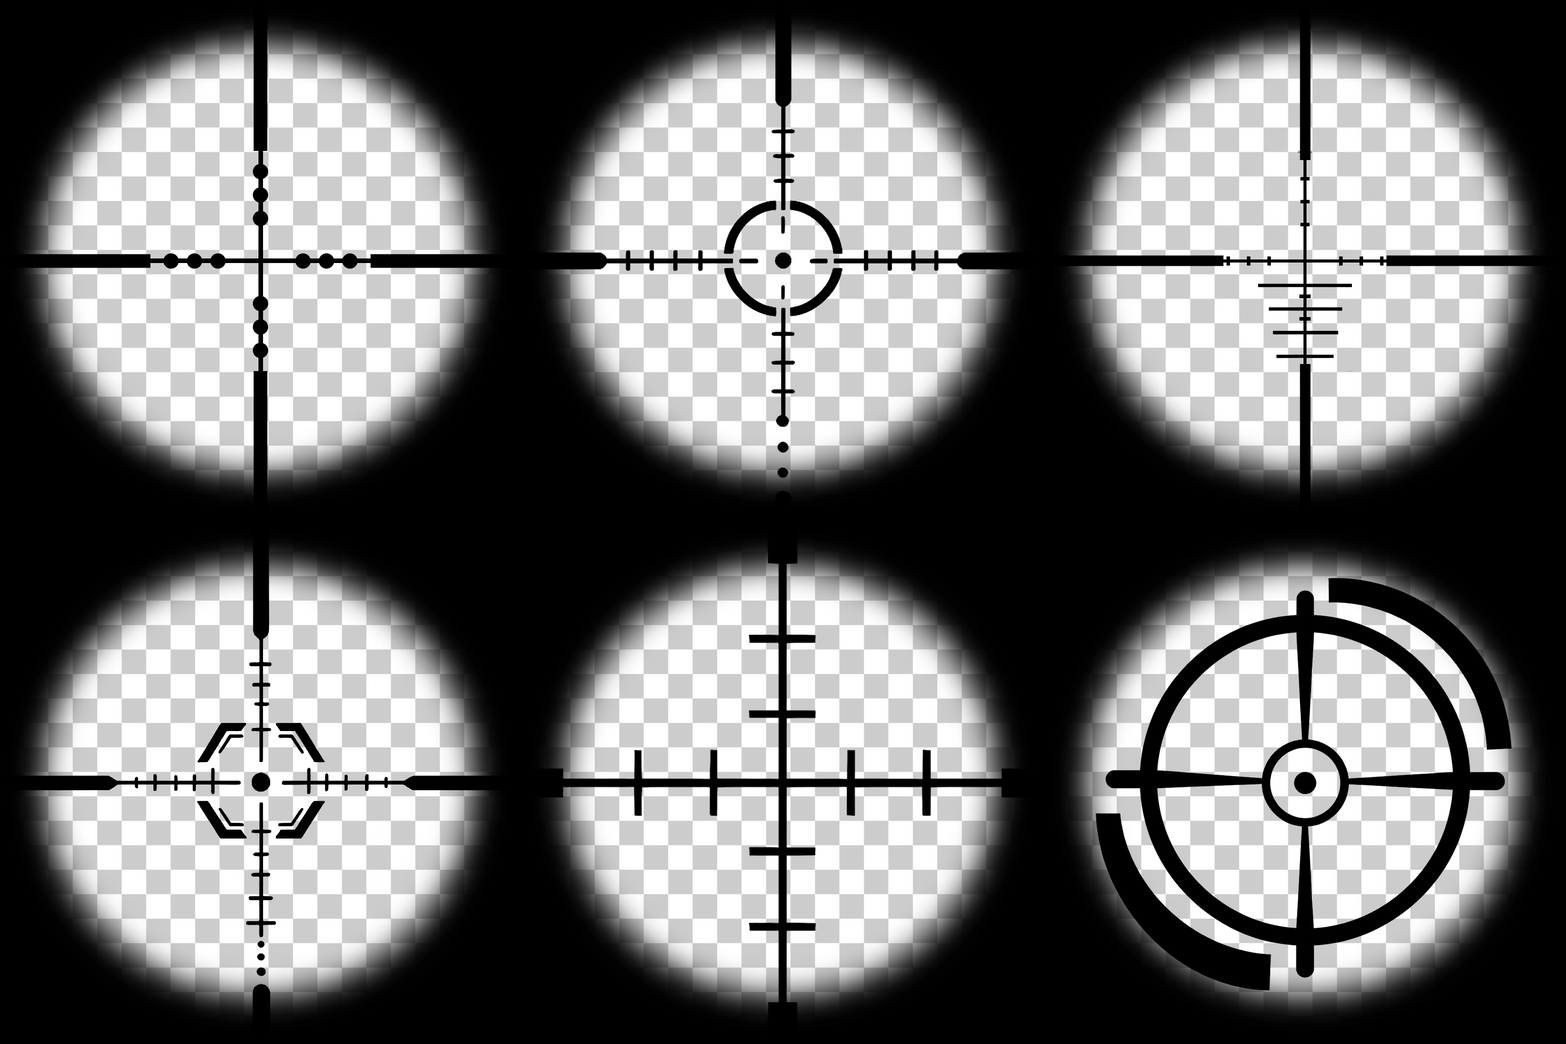
That’s a PNG with the crosshair, a subtle dark vignette around the edges, and a transparent background. Put it on a circular mesh inside the scope and you’re done. Plenty of games ship with exactly this.
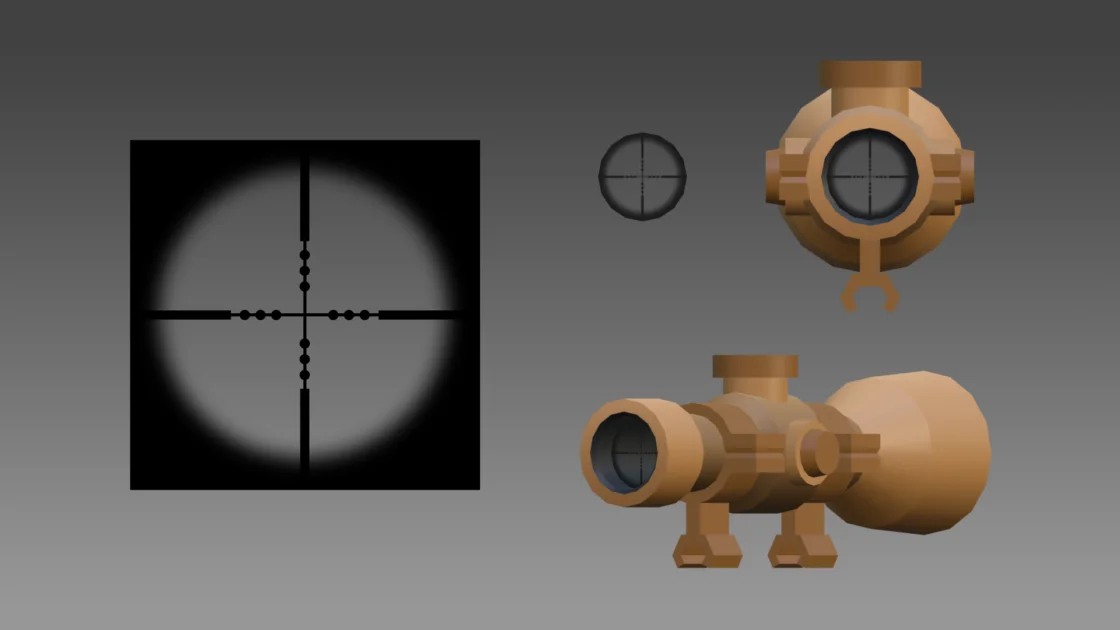
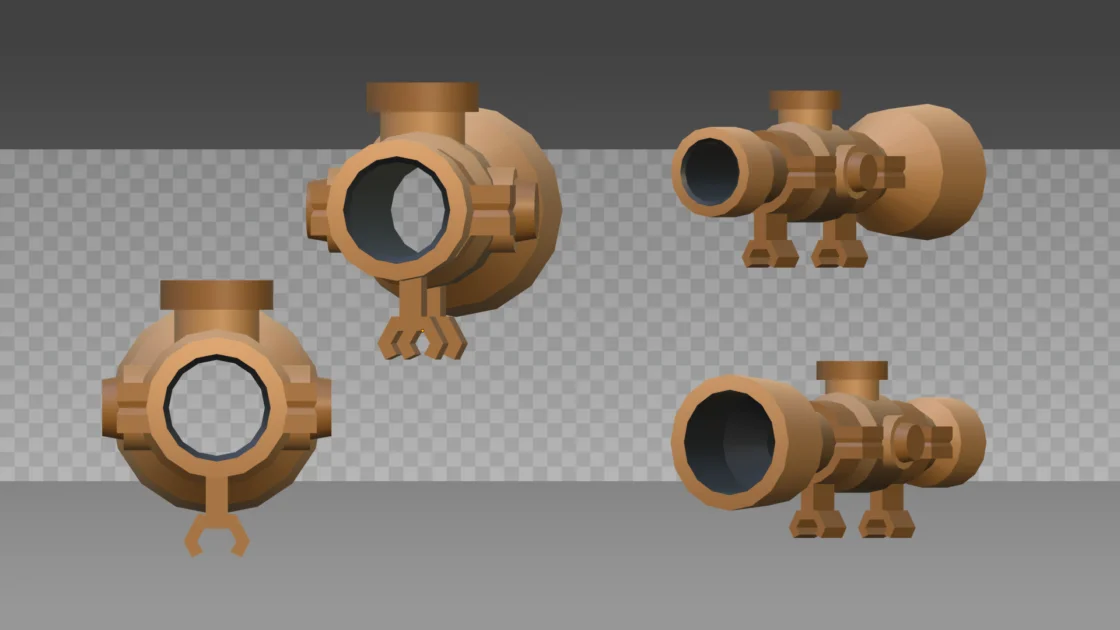
If you want zoom and adjustable magnification, you need a second circular mesh right behind the reticle. We’ll call it Projection. It displays the image from a camera sitting at the rear of the scope, so when the player aims, they see the reticle first and the camera’s view behind it. Change that camera’s field of view and you change the magnification.
There’s also a third circular mesh for the exit lens, purely so the scope looks finished from the outside. Only its back face is ever visible, so give it a transparent material and it won’t get in the way while aiming.
The overall structure looks roughly like this:
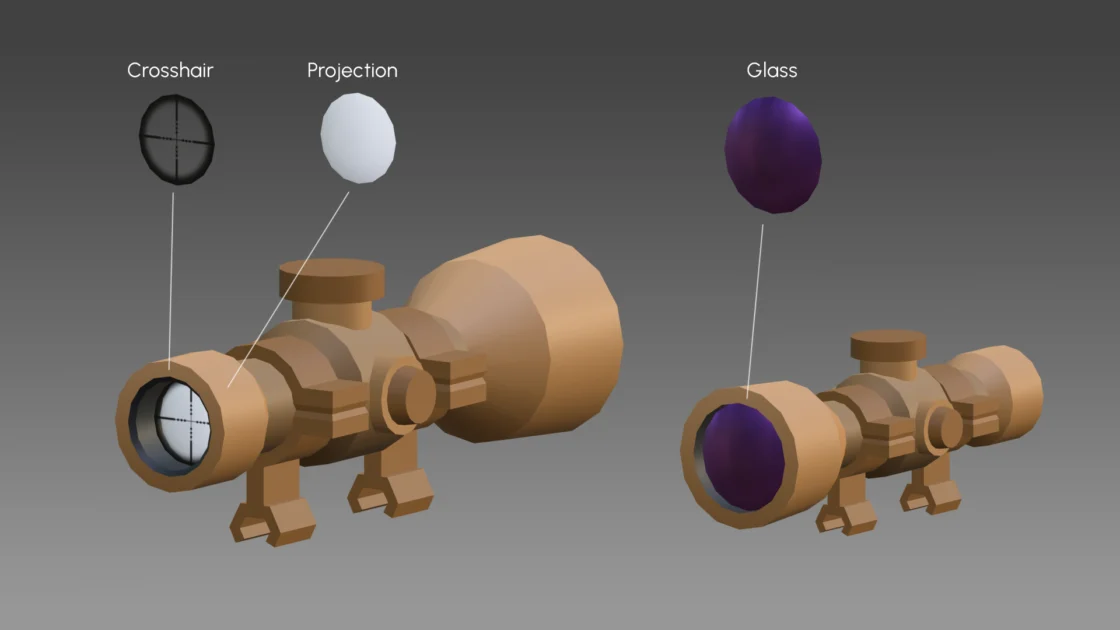
We now have the scope model and three circular meshes, each serving a different purpose.
One tip: It’s best to keep these meshes as separate objects and parent them to the scope. You’ll thank yourself later when you need to adjust one of them in the engine.
Setting up the scope in Unity
First, create a Render Texture. This is what will carry the camera’s view onto the Projection mesh.
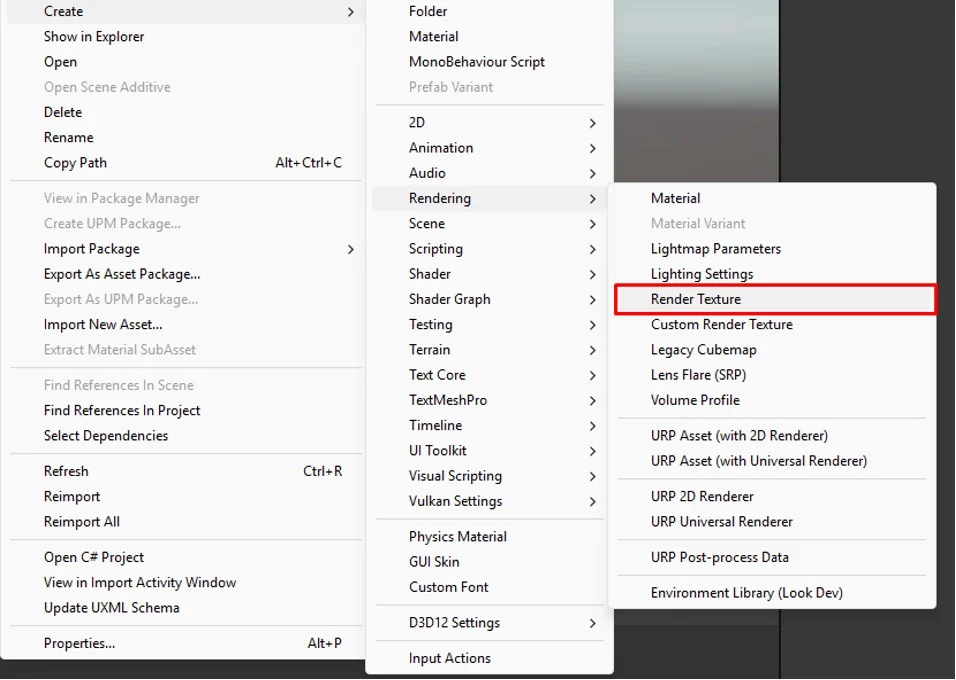
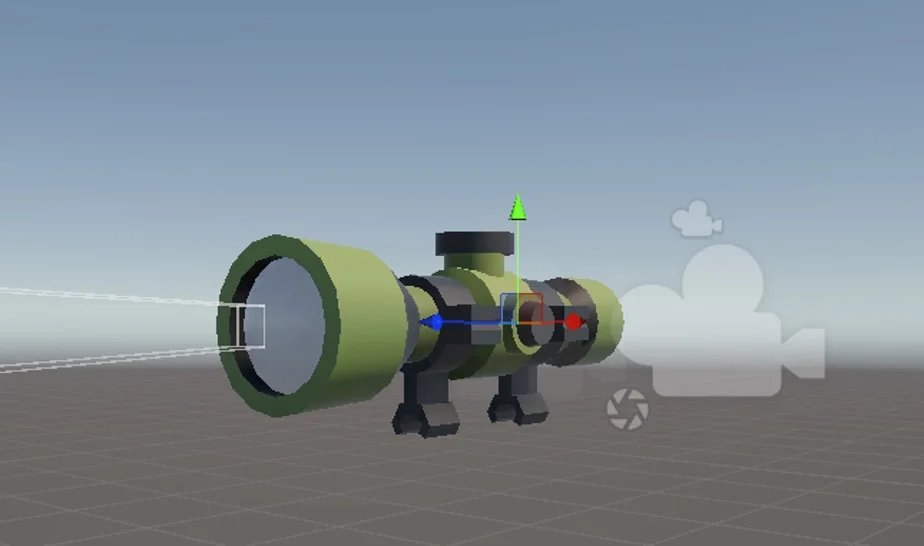
Create a new camera and place it behind the scope, roughly like this:
In the camera’s Inspector, find the Output section and assign your Render Texture to the Output Texture field:
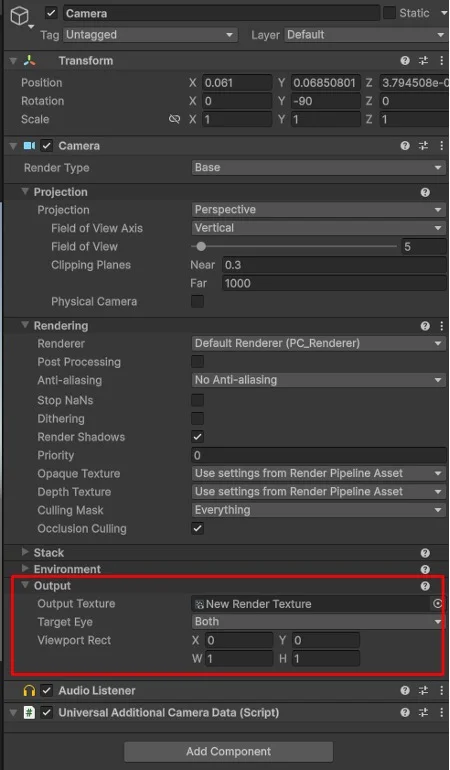
Now create a new material and, under Surface Inputs, drop the Render Texture into the Base Map slot. Apply this material to the Projection mesh.
That’s it! Move the camera and play with its field of view until the magnification feels right for your game.
